In this tutorial, I will explain how you can save the data you collected from the lead capture bot and save it to Airtable.
Why Airtable? Airtable is the best low code database for non-programmers who are building Dialogflow chatbots
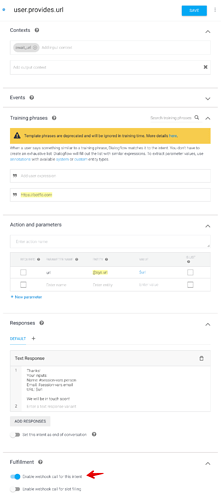
In the user.provides.url intent, enable the “Enable webhook call for this intent” toggle switch at the bottom of the intent.
This is the Python code you will use in the webhook. If you are not clear on how to get started with Python for Dialogflow, check out the resources below.
Resources Python webhook tutorial How to set up Python webhook debugging using ngrok
This is the webhook route in the Flask app
@app.route('/webhook', methods=['POST'])
def hello_webhook():
    req = request.get_json(silent=True, force=True)
    result = save_to_db(req)
    return {
        'fulfillmentText': str(result)
    }
This is the code for the save_to_db method
def save_to_db(req):
    try:
        query_result = req.get('queryResult')
        output_contexts = query_result.get('outputContexts')
        session_vars = next(
            context for context in output_contexts if str(context.get('name')).endswith('/session-vars'))
        name = session_vars.get('parameters').get('person').get('name')
        email = session_vars.get('parameters').get('email')
        url = query_result.get('parameters').get('url')
        table = Table(api_key, base_id, table_name)
        result = table.create({'Name': name, 'Email': email, 'Website': url})
        return 'Thanks. We will be in touch soon.'
    except Exception as e:
        error_str = str(e)
        return 'Something went wrong. Please try again later'
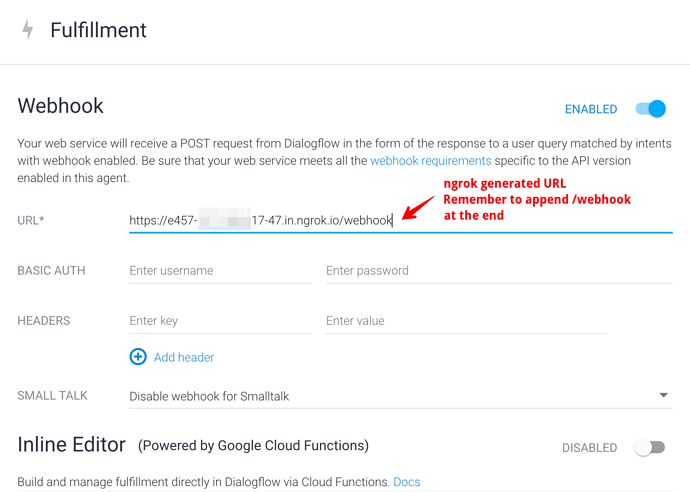
Remember to add the ngrok generate URL to your fulfillment
Demo
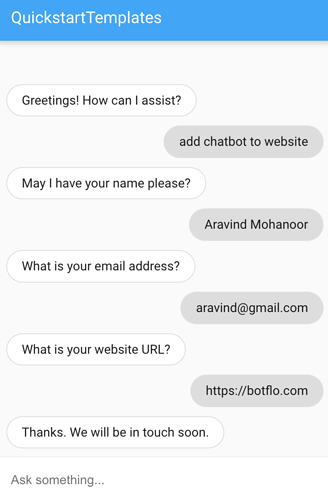
This is what the output looks like in Dialogflow Messenger
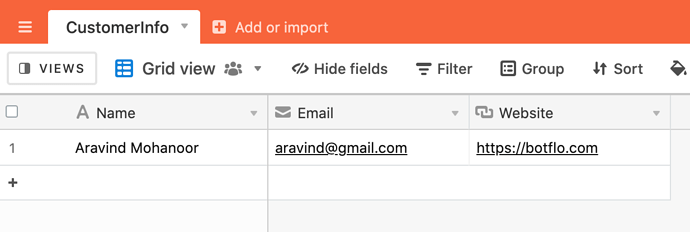
And you can see that the data we input has been saved to Airtable


